

@creem_io/convex connects your Convex backend to Creem. Webhooks keep billing state synced into your Convex database. Pre-built React and Svelte widgets handle checkout, plan switching, and cancellation.
This page gets you to a working two-plan pricing page.
Before you start, you need an existing Convex project with npx convex dev running, and auth configured so ctx.auth.getUserIdentity() returns your signed-in user. Without auth, the pricing page renders - but only in its public, logged-out state, and checkout stays unavailable.
Integrating with an AI agent, or migrating from another billing provider? Point it at the
Integration Guide. That page holds the whole setup sequence in
order, with validation steps. Agents can fetch it as raw markdown:
Backend
1
Install
2
Register the component
convex/convex.config.ts
3
Set secrets
CREEM_SERVER=prod (or omit it) when you go live.4
Export the billing API
The
resolve callback maps your authenticated session to a billing entity. Replace it with your real auth logic:convex/billing.ts
5
Register the webhook
convex/http.ts
/creem/events:6
Create two products
This quickstart renders a Basic and a Premium plan, so create one Creem product
for each.Put both IDs in your frontend env file. They are public values that the browser
needs in order to start checkout:
- CLI
- Dashboard
Install the CLI, then sign in with the same test key you
set in step 3:Each command prints the new
prod_... ID. creem products list shows them again later..env.local
Use whichever public prefix your framework expects:
VITE_* for Vite, NEXT_PUBLIC_* for
Next.js, PUBLIC_* for SvelteKit. Your Creem API key is not a public value and stays in Convex
env, as set above.7
Sync products
Pull the product metadata (names, prices, descriptions) into Convex so the
widgets can render it:Billing state now syncs into Convex automatically. The backend is done.
Frontend
1
Install UI dependencies
The widgets are built on Ark UI headless primitives. Add the adapter for your framework to your existing app:
- React
- Svelte
2
Set up Tailwind and import styles
The widgets require Tailwind CSS v4. If your project doesn’t have it yet, follow the Tailwind framework guide. The steps differ per framework.Then add the component styles to your CSS entry point, after the Tailwind import:
3
Define your plans
Map stable plan IDs to your Creem product IDs:
- React
- Svelte
src/billingCatalog.ts
defineBillingCatalog is the same framework-agnostic function in both entry points. It is re-exported from /react and /svelte so that browser code never has to import the server entry.Titles, descriptions, and prices come from the synced Creem product data.4
Render the pricing page
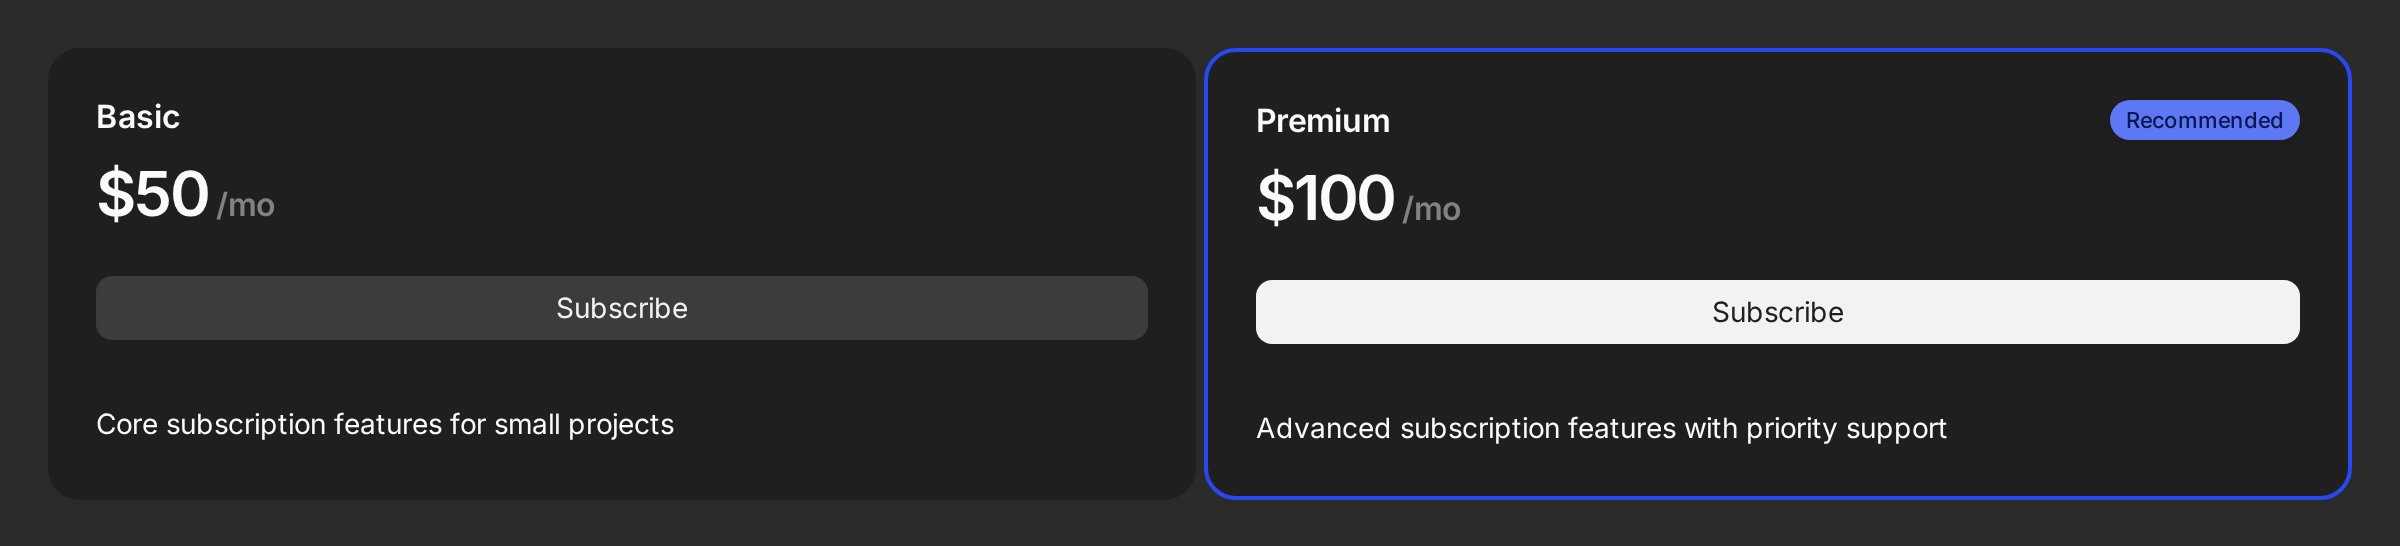
Wrap your billing UI once in You now have a pricing page with live prices and working checkout. It shows a “Current plan” badge, and handles plan switching, cancel, and resume. Convex keeps all of it in sync. Try it with a test card.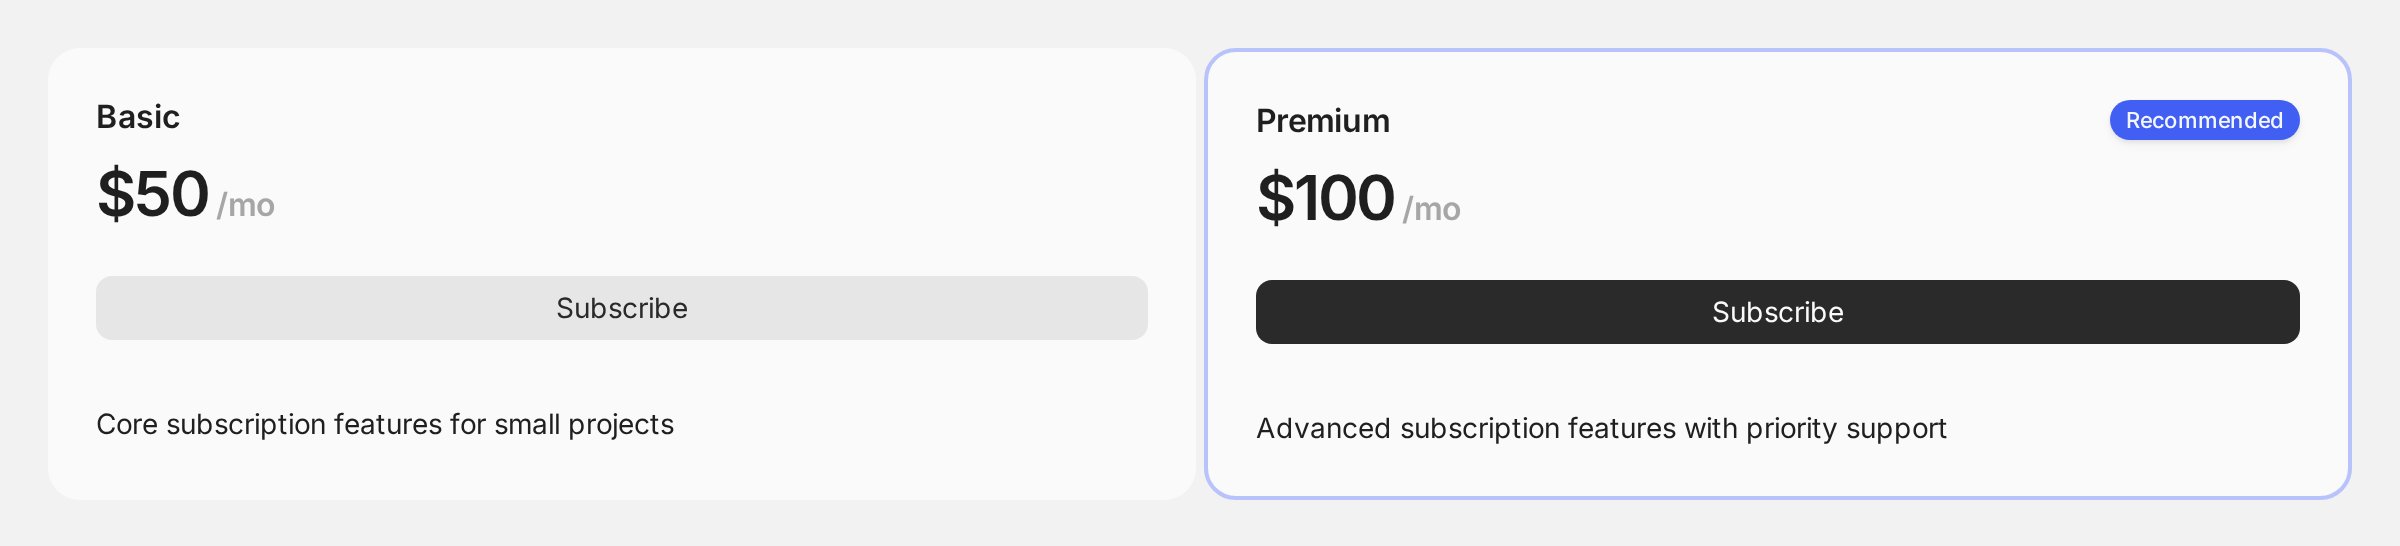
CreemConvexProvider. The widgets read everything from it:- React
- Svelte
src/PricingPage.tsx
Next steps
Subscriptions
Billing cycles, trials, unit-based pricing, and scheduled changes
One-Time Products & Credits
Owned products, consumables, credit packs, and upgrade paths
Entitlements & Account UI
Feature gating, usage limits, billing history, and payment recovery
Advanced
Custom auth/RBAC, entity model, webhook middleware, and migration