> ## Documentation Index
> Fetch the complete documentation index at: https://docs.creem.io/llms.txt
> Use this file to discover all available pages before exploring further.
# Create Your First Product
> Step-by-step guide to creating and sharing your first product on Creem
# Create Your First Product
Learn how to set up your first product and start accepting payments with Creem.
## Video Tutorial
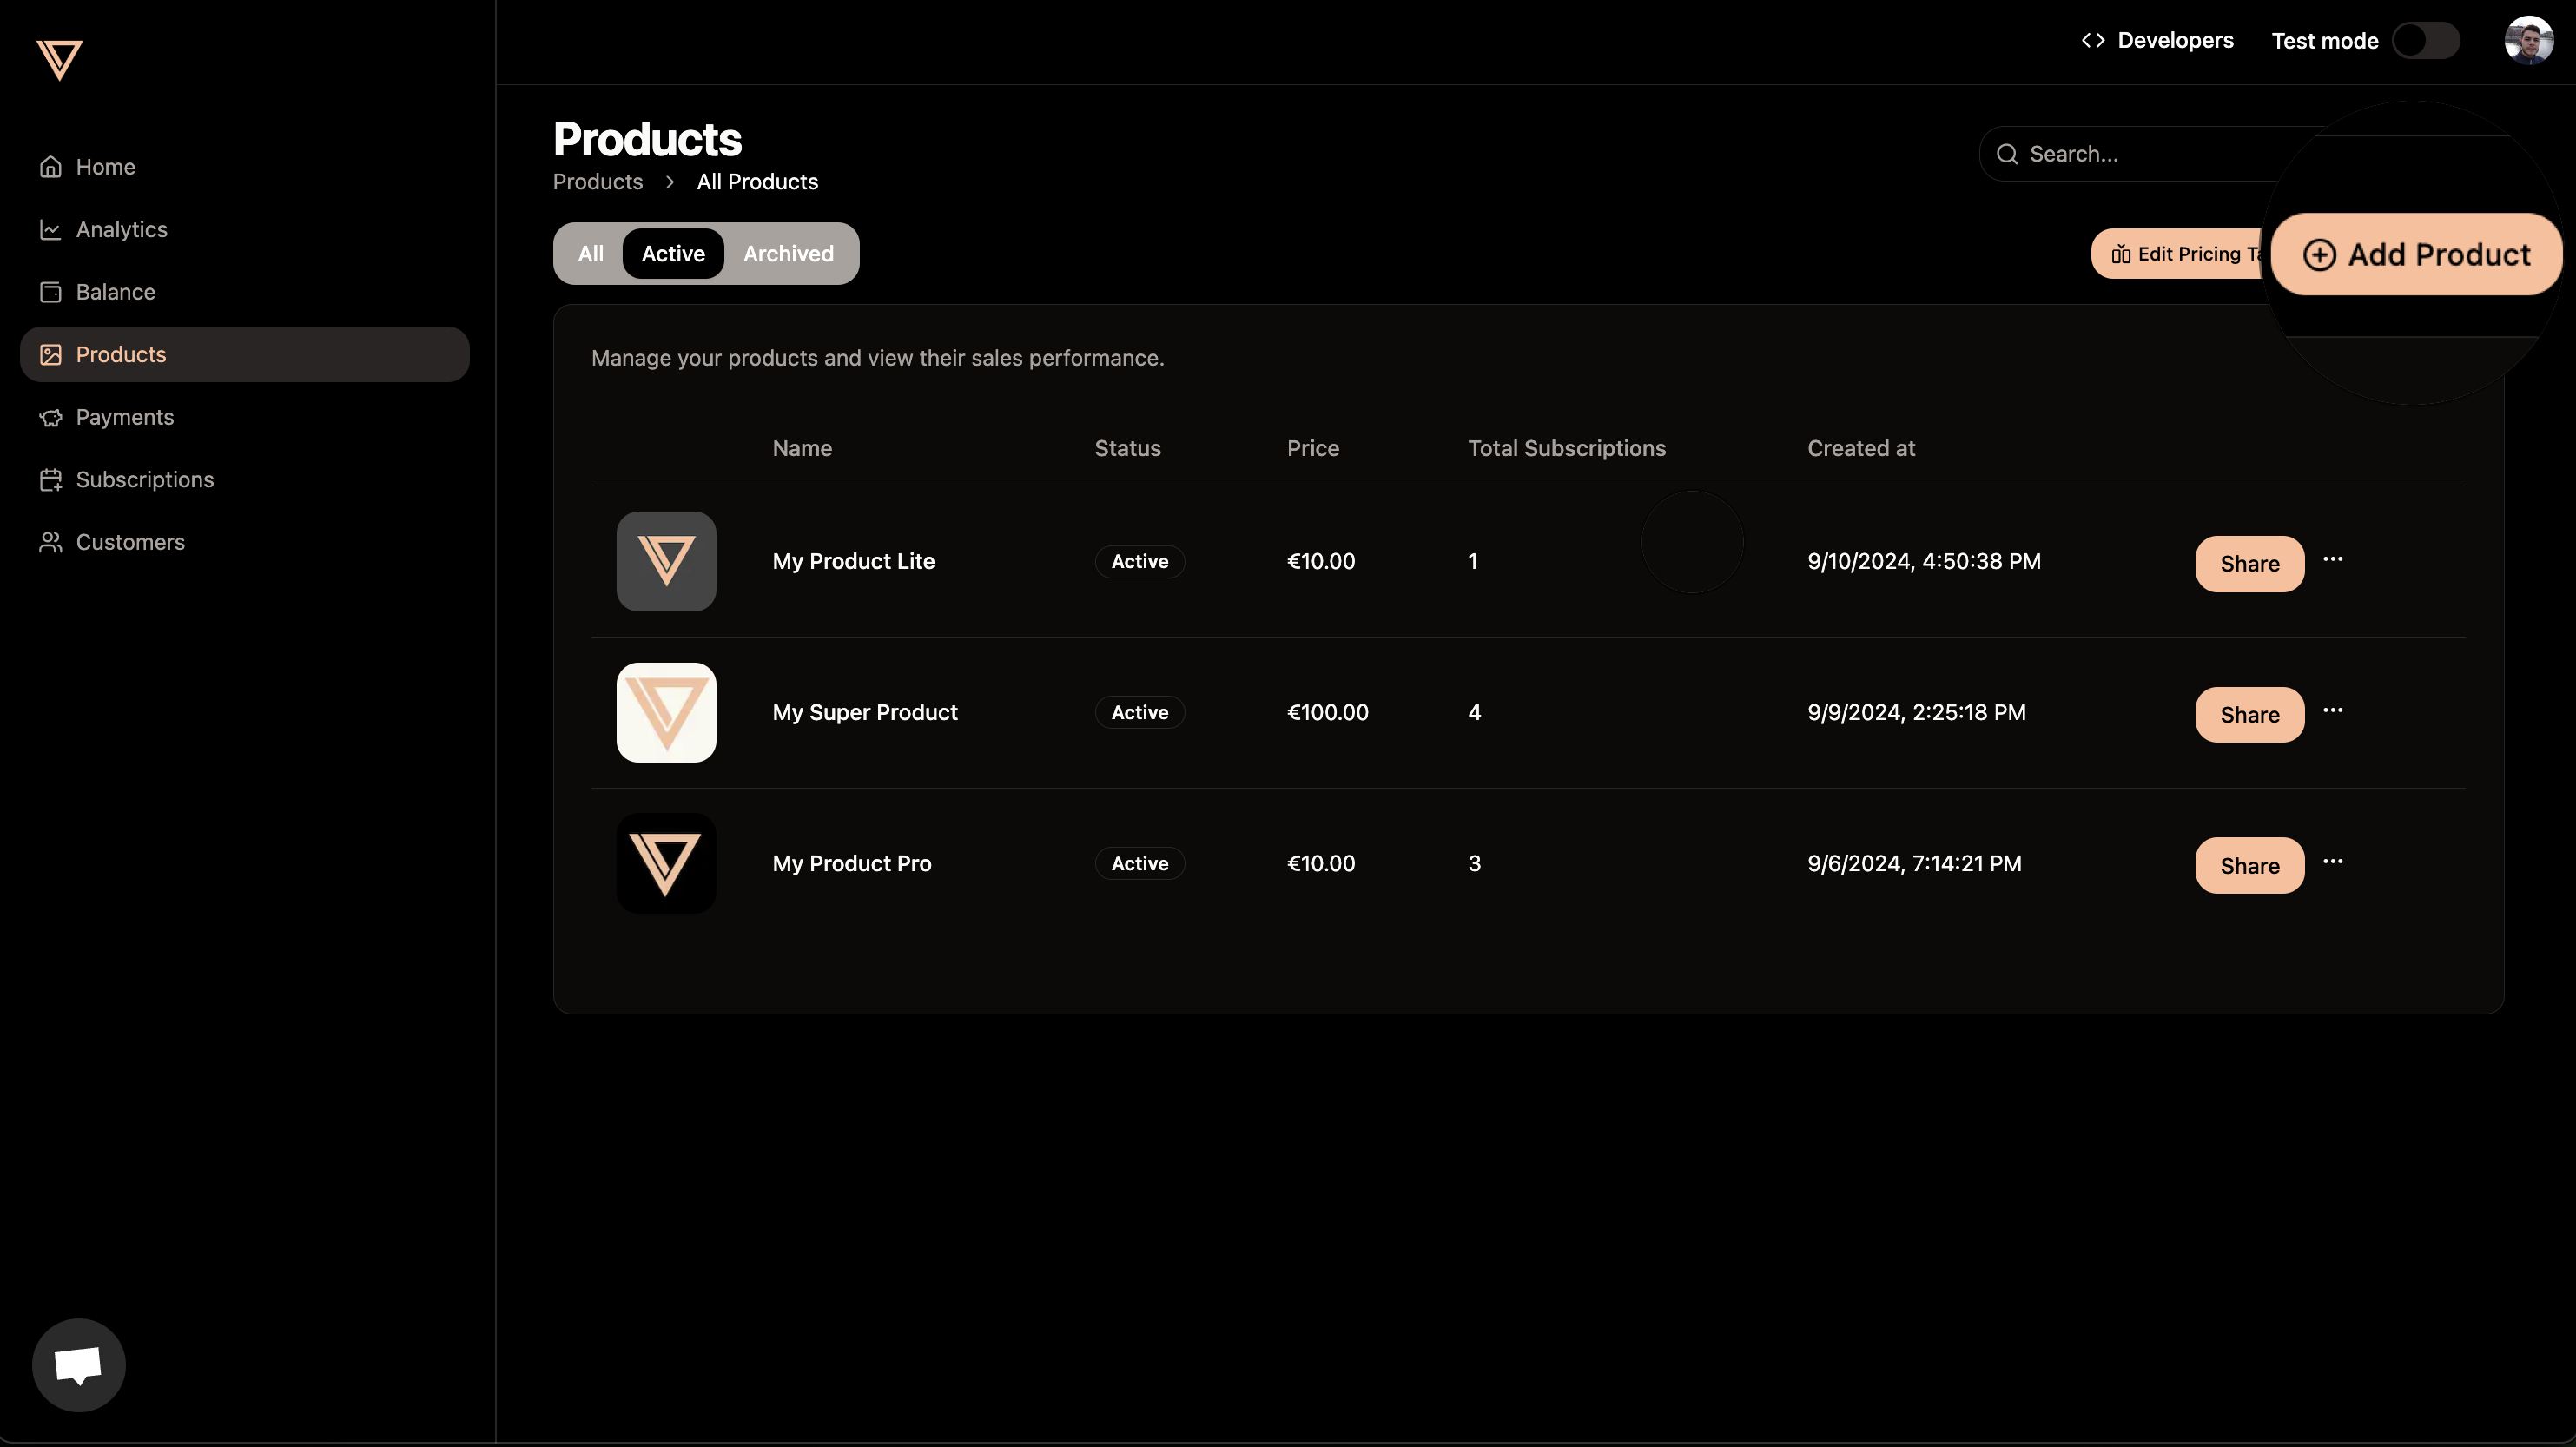
## Step 1: Navigate to Products
Go to the [products tab](https://creem.io/dashboard/products) in your Creem dashboard.
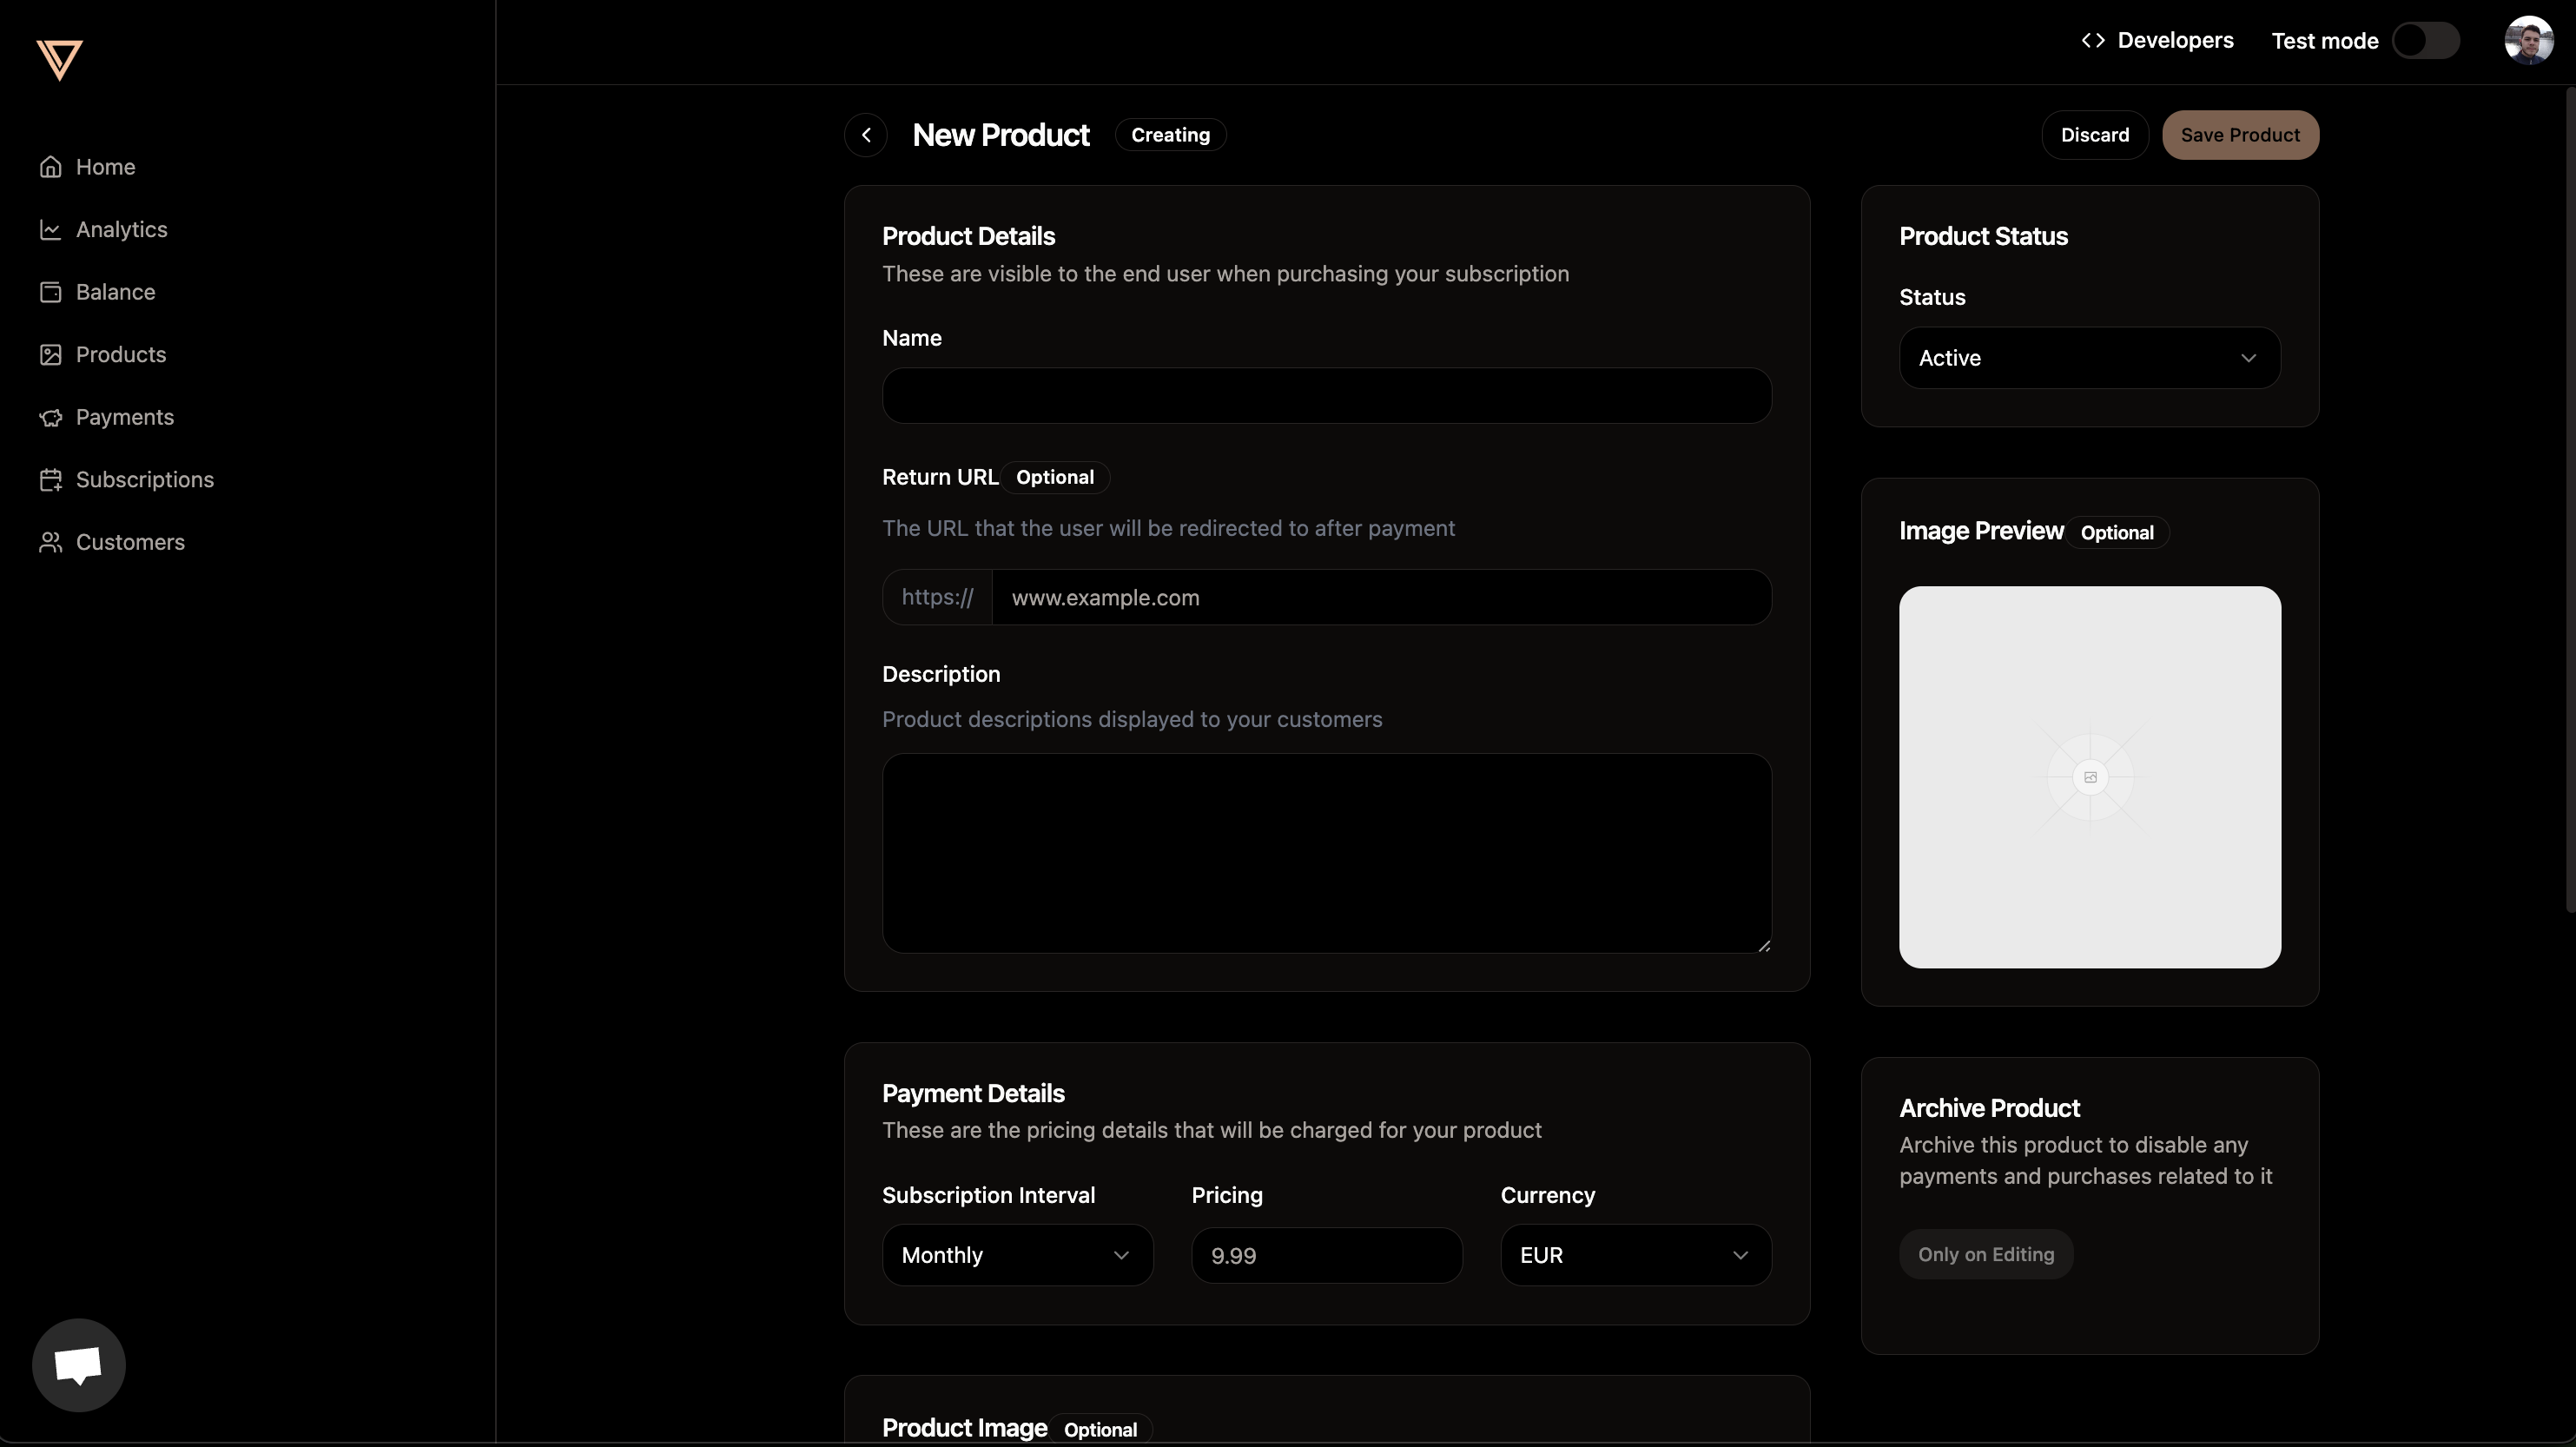
## Step 2: Add Product Details
Create a new product by adding:
* **Name**: A clear, descriptive name for your product
* **Description**: Details about what customers will receive
* **Pricing**: Choose Single Payment, Subscription, or Free. Free products are
one-time products with a `0` price.
* **Currency**: The currency customers are charged in. Creem currently supports
**USD** and **EUR**.
* **Image** (optional): Add a product image that will be shown to customers
## Step 3: Share Your Product
After creating your product, click the **Share** button to copy the payment link. Send this link to your customers and they'll be able to pay you instantly.
## Next Steps
Learn how to create dynamic checkout sessions programmatically
Set up webhooks to receive real-time payment updates
Enable customers to manage their subscriptions
Test your integration safely without real charges
 ## Next Steps