> ## Documentation Index
> Fetch the complete documentation index at: https://docs.creem.io/llms.txt
> Use this file to discover all available pages before exploring further.
# Dashboard Overview
> Find your way around the Creem dashboard — where to find your Store ID, API keys, support settings, and more.
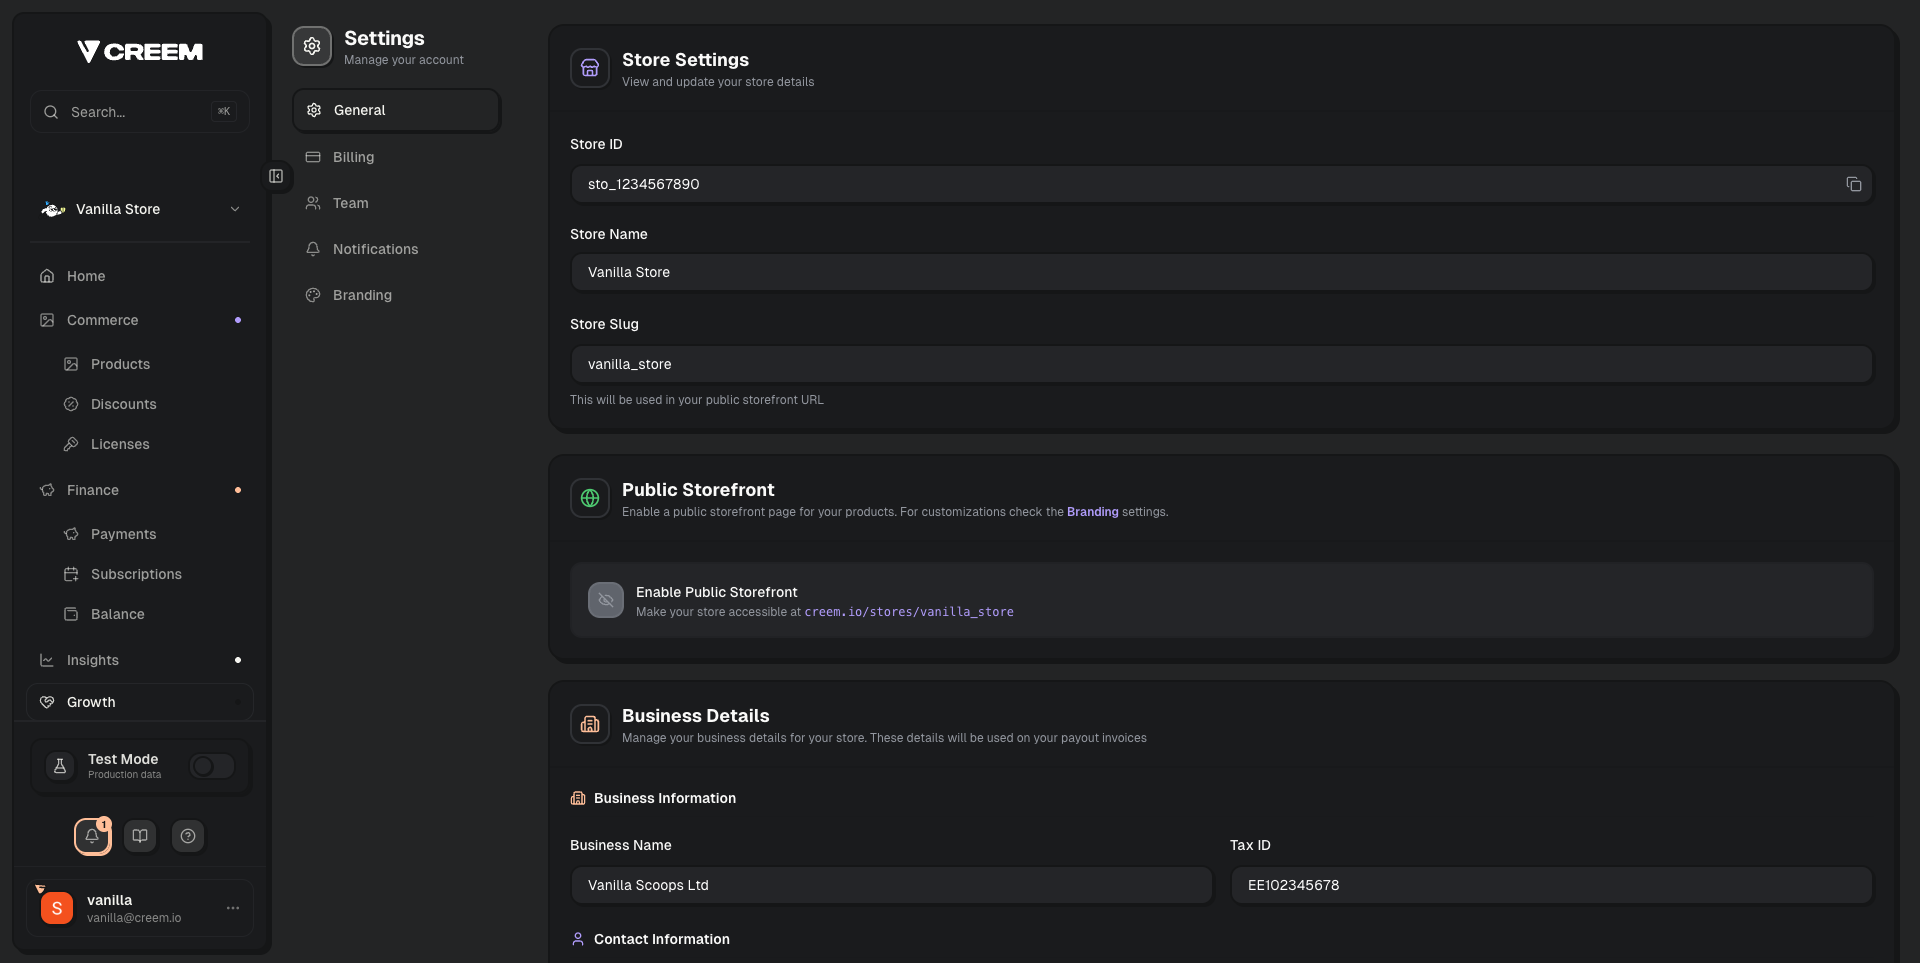
## Finding Your Store ID
Your **Store ID** is a unique identifier for your store (e.g., `sto_abc123`). You'll need it when contacting support or referencing your account.
To find your Store ID:
1. Go to your [Creem Dashboard](https://www.creem.io/dashboard/home)
2. Click **Settings** in the left sidebar
3. Your Store ID is displayed at the top of the settings page
 When contacting support, always include your Store ID — it helps us locate your account instantly.
## Finding Your API Keys
API keys are used to authenticate your integration with Creem.
1. Go to the **Developers** section in the left sidebar of your dashboard
2. Copy your **API Key** for the environment you need (test or production)
When contacting support, always include your Store ID — it helps us locate your account instantly.
## Finding Your API Keys
API keys are used to authenticate your integration with Creem.
1. Go to the **Developers** section in the left sidebar of your dashboard
2. Copy your **API Key** for the environment you need (test or production)
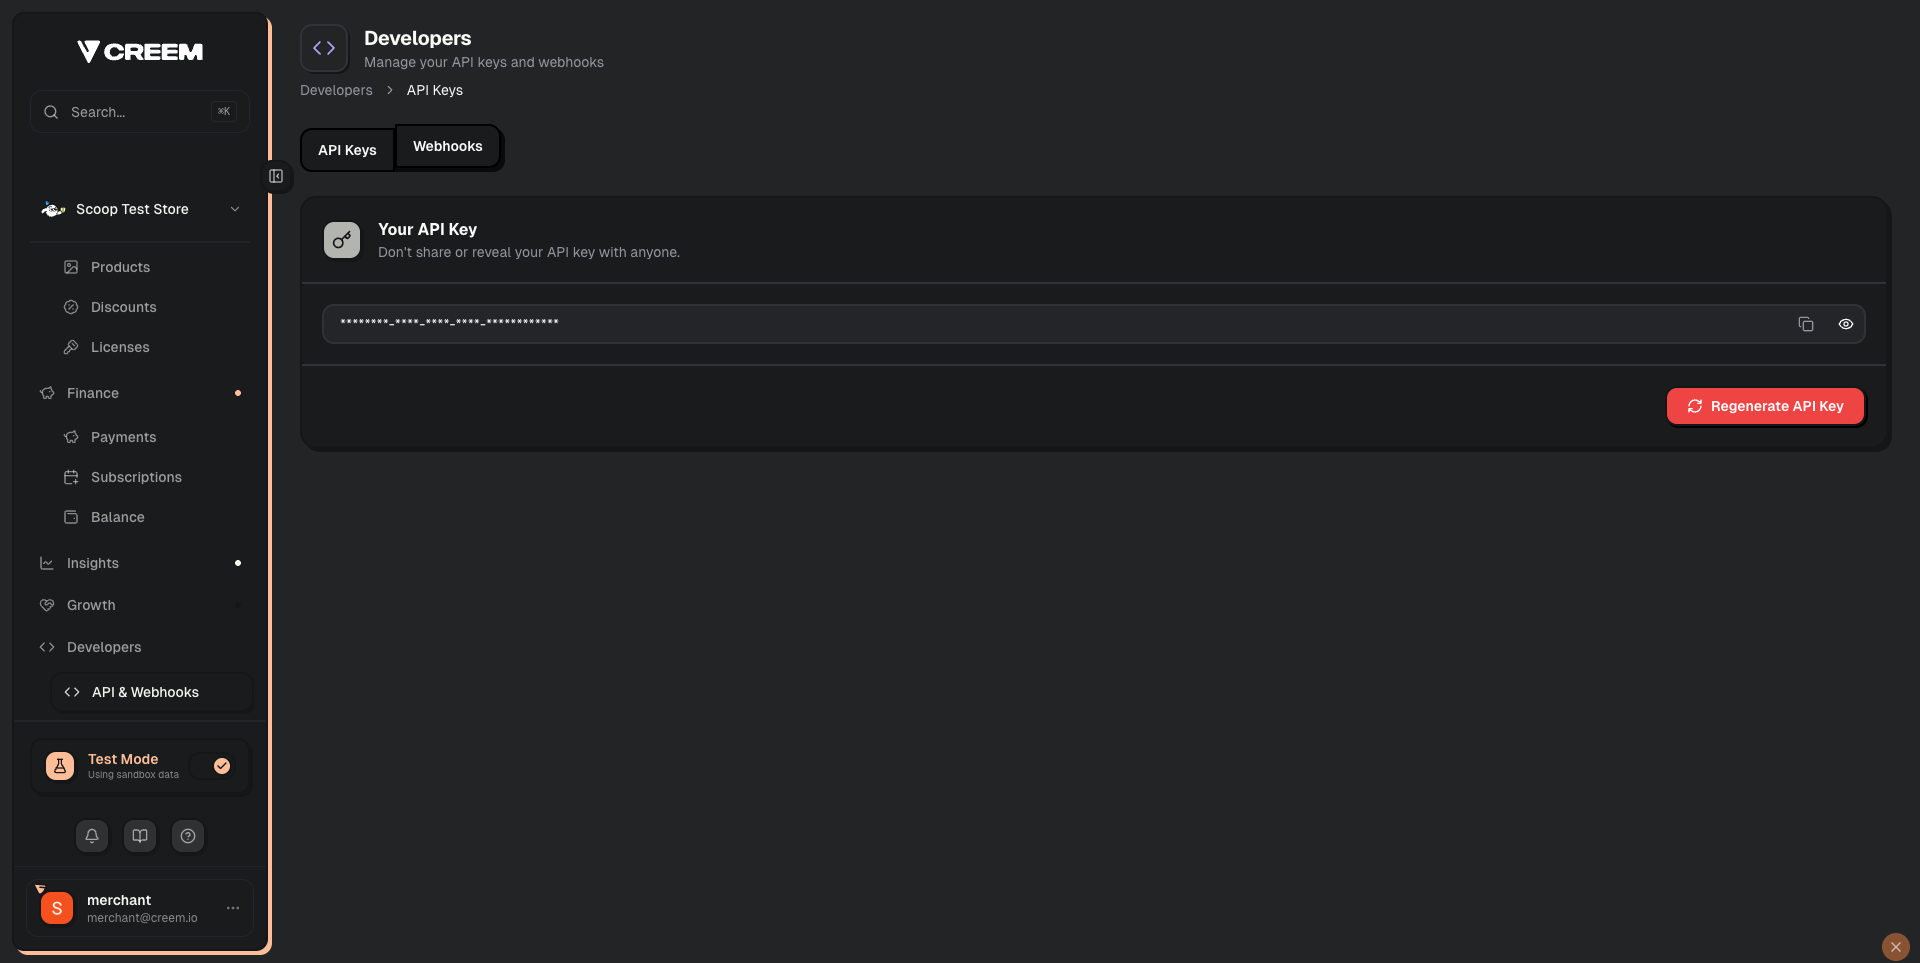 Make sure to toggle **Test Mode** in the left sidebar to see the correct API key for your environment. Test and production keys are different.
For more details, see [Test Mode](/getting-started/test-mode).
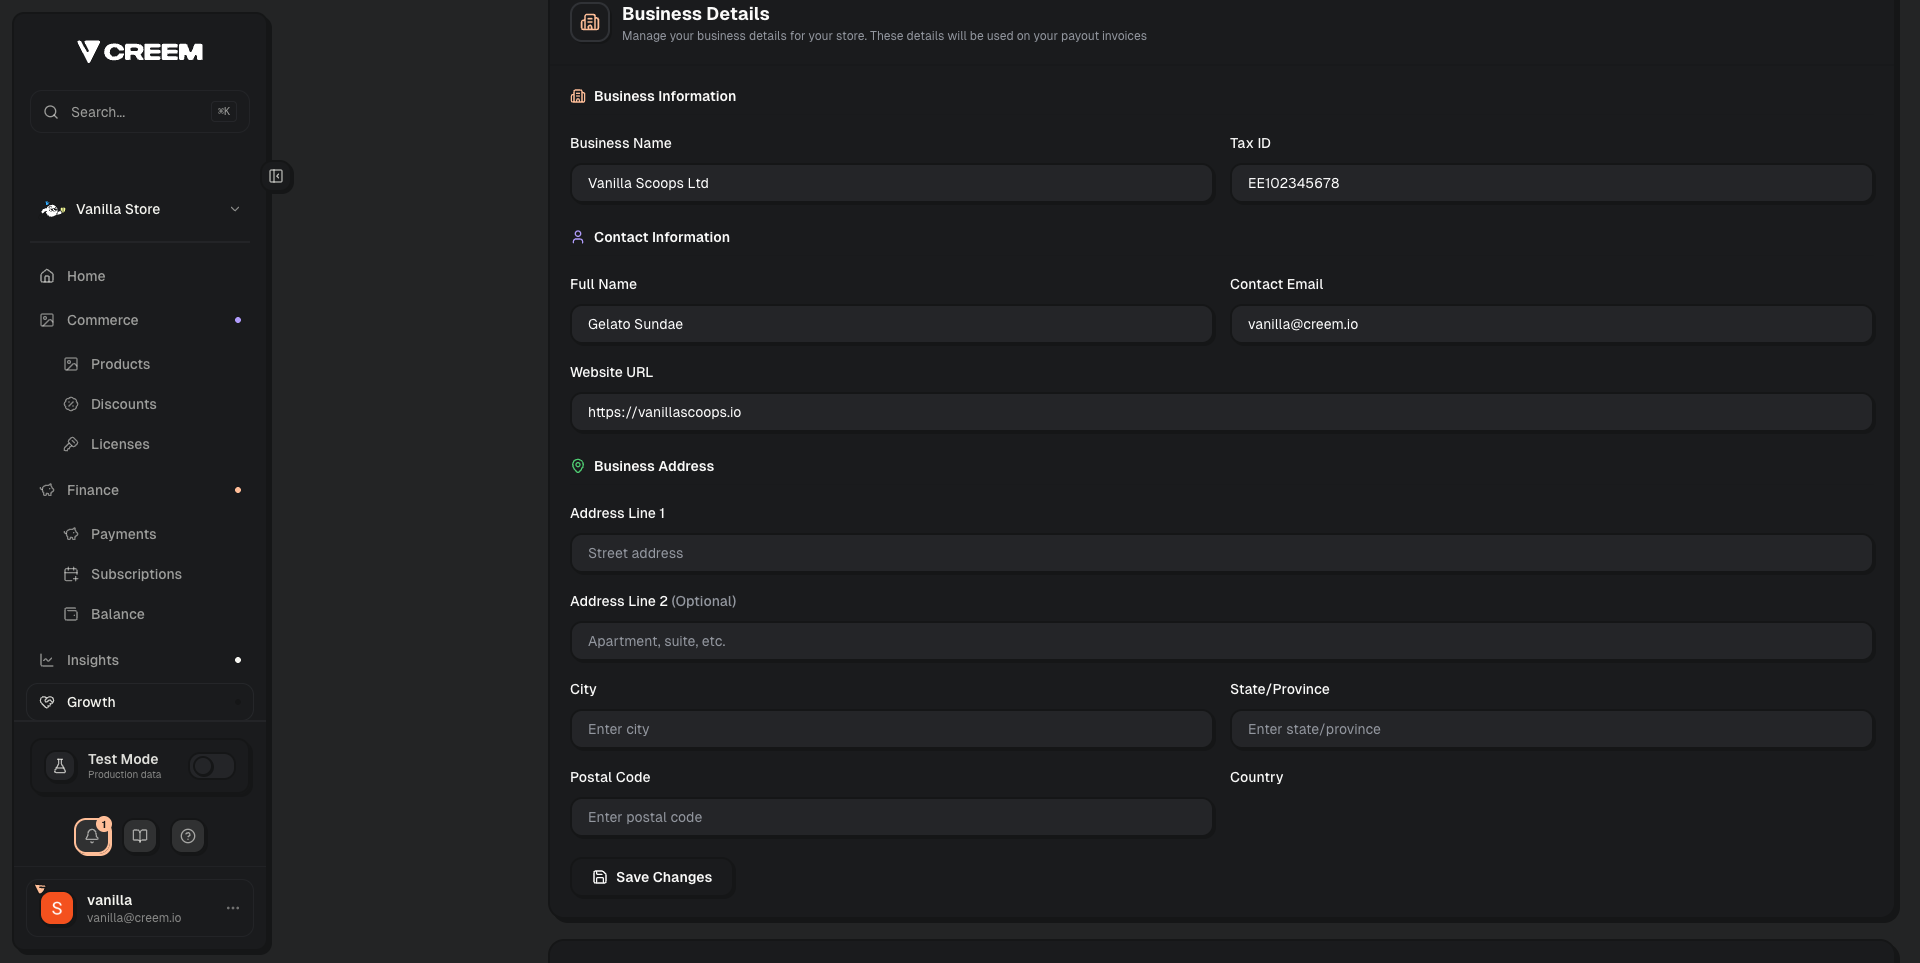
## Configuring Your Support Email
Your **support email** is shown on customer receipts and must match a real, reachable email address.
To update your support email:
1. Go to **Settings** → **Business Details** in your dashboard
2. Update the **Contact Email** field
3. Make sure this email is also displayed on your website (e.g., in your footer or contact page)
Make sure to toggle **Test Mode** in the left sidebar to see the correct API key for your environment. Test and production keys are different.
For more details, see [Test Mode](/getting-started/test-mode).
## Configuring Your Support Email
Your **support email** is shown on customer receipts and must match a real, reachable email address.
To update your support email:
1. Go to **Settings** → **Business Details** in your dashboard
2. Update the **Contact Email** field
3. Make sure this email is also displayed on your website (e.g., in your footer or contact page)
 During [account review](/merchant-of-record/account-reviews/account-reviews), we verify that your support email matches what's shown on your website. A mismatch is one of the most common reasons for requests for changes.
## Switching Between Test and Live Mode
Use the **Test Mode** toggle in the left sidebar to switch between environments. Each environment has its own:
* Products and pricing
* API keys
* Transactions and customers
* Webhook endpoints
Products created in test mode are **not** automatically copied to production. You'll need to recreate them in live mode when you're ready to go live.
For more details, see [Test Mode](/getting-started/test-mode).
## Managing Your Team
You can invite team members to your store from the dashboard:
1. Go to **Settings** → **Team**
2. Click **Invite Member** and enter their email
Team members will receive an invitation email. Once they accept, they can access the dashboard and switch to your store from their account.
During [account review](/merchant-of-record/account-reviews/account-reviews), we verify that your support email matches what's shown on your website. A mismatch is one of the most common reasons for requests for changes.
## Switching Between Test and Live Mode
Use the **Test Mode** toggle in the left sidebar to switch between environments. Each environment has its own:
* Products and pricing
* API keys
* Transactions and customers
* Webhook endpoints
Products created in test mode are **not** automatically copied to production. You'll need to recreate them in live mode when you're ready to go live.
For more details, see [Test Mode](/getting-started/test-mode).
## Managing Your Team
You can invite team members to your store from the dashboard:
1. Go to **Settings** → **Team**
2. Click **Invite Member** and enter their email
Team members will receive an invitation email. Once they accept, they can access the dashboard and switch to your store from their account.